How to Install a Chandelier

Once you’ve made a choice from our selection of our chandeliers, it’s time for installation. For some, this may mark the first time installing a lighting fixture. For others, this is one of many. Whether you’re a veteran or rookie on the ceiling-mounted circuit, installation of chandeliers is similar no matter what the fixture looks like.
Since you’ll be working with electricity, exercise caution. Plus, with the added weight of chandeliers, it’s imperative that you have someone to help.
TOOLS AND MATERIALS YOU’LL NEED
Installing your new chandelier will require at least two people, a few select tools and some patience. Here’s a list of tools and materials needed to install your chandelier:
Tools
- Wire cutters
- Electrical tester
- Ladder
- Screwdrivers (flat-head and Phillips)
- Adjustable wrench
- Pliers
- Pencil
Materials
- Chandelier
- Metal outlet box
- Wire nuts
- Electrical tape
- Expandable cross brace (optional)
WHAT’S A J-BOX?
The weight of your new chandelier is important for one major reason: the ceiling junction box.If you’re replacing an older fixture, you already have a junction box (j-box, for short). The j-box contains all the wiring connections in the ceiling, and it must be strong enough to accommodate the weight of your new chandelier. If your new chandelier is around the same weight as the one you’re replacing, the old j-box will most likely work. If the new chandelier is much heavier, however, you’ll have to replace it with one that can adequately support the new weight. Similarly, if you’re installing a new chandelier and don’t have a box already in place, you’ll need to do that first.
GIVING YOUR CHANDELIER A HOME
Determine where on the ceiling you’d like the new outlet box to be, and mark it. Once you know the dimensions of the j-box, cut a hole in the ceiling to accommodate it. Use extreme caution when cutting this hole.
Boxes vary in size and how much weight they can bear, so be sure to install the correct one, especially if your chandelier is on the heavy side. J-boxes specifically designed to be nailed to ceiling joists are available, and angled nailing holes should be provided.
Insert mounting bars through a hole cut in the ceiling. You’ll usually want the bottom of the box to be flush with the ceiling surface. High-quality mounting bars have an expanding feature to allow them to tighten between the joints.
Insert a hanger bar through the hole firmly to the back of the supporting ceiling.
Connect the feed cable to the ceiling outlet box. Turn off all power at the main switch before connecting the feed cable. Secure the electrical wire to the ceiling outlet box with a cable clamp.
Finally, mount the ceiling outlet box with the wire attached on the hanger bar with the attached nipple and locknut. Be sure the current is off at the main switch. Connect the feed cable to a power source at an outlet box.
NOW YOU'RE READY
Cut The Juice
If you haven’t already done so, cut the power to the circuit. After you’re certain no power is flowing (inexpensive circuit testers are available at any home improvement store), disconnect and remove the old chandelier.
Please Note: This is a two-person job, since someone will need to bear the weight of the old chandelier as you disconnect the lead wires.
When you’re done unwiring the old chandelier, make sure they’re exposed and ready for your new chandelier.
Hint: Take note of how the old chandelier is connected before you remove it. Consider making a sketch of what it looks like (how it’s wired, what goes where, etc.) so that when it comes time to install your new fixture, you’ll have a better understanding. You should also mark the wires with tape and a pencil for reference.
Wire The New Chandelier
Do this the same way the old one came out (your sketch could really come in handy for this). Wiring in the new chandelier might prove as easy as matching up similar colored wires (white to white, black to black), or it may be more challenging with several wires to connect (for example, the introduction of a red wire).
String wires through the last link in the chain, and then through the support nut, collar nut, escutcheon plate, up through the lamp nipple and finally into the j-box. Connect your wires by “tying in” to the home wiring using wire nuts (plastic connectors that should be included with your chandelier). You’ll “tie in” by twisting the black hot wire from the j-box with the black wire with your chandelier. Do the same with the white neutral wires. Connect the ground wires to the green grounding screw in the j-box.
Finishing Up
It’s wise to consult your manufacturer-issued instructions at this point, since chandelier installation can vary slightly from fixture to fixture.
HEIGHT PLACEMENT
Wiring in the new chandelier might prove as easy as matching up similar colored wires (white to white, black to black), or it may be more challenging with several wires to connect (for example, the introduction of a red wire).
Dining room
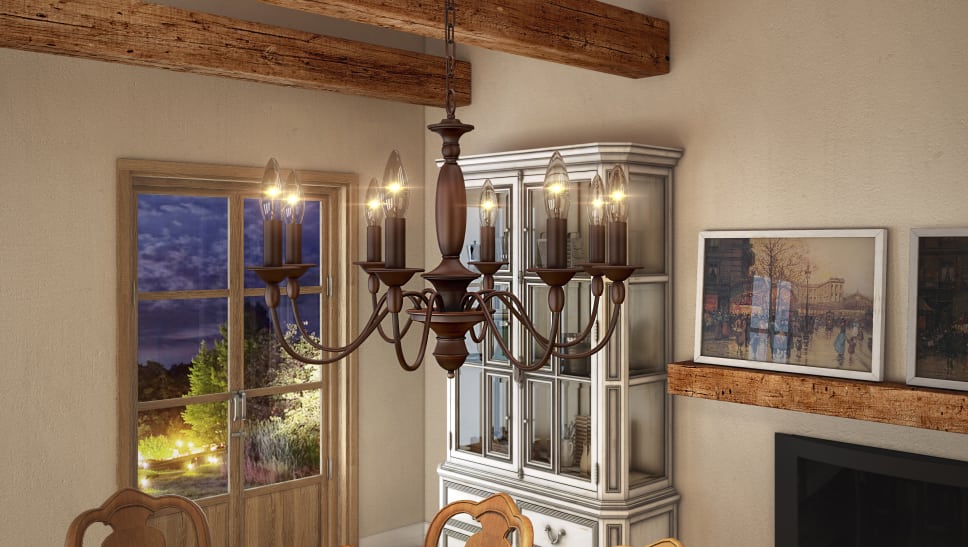
Chandeliers should be installed from 30 to 36 inches above the top of the dining room table, or at least high enough so that people don’t bump their heads into it as they get up from or sit down at the table.
Foyer
If you’re installing the chandelier in a foyer (and, to some extent, everywhere), be aware of how low the bottom of the fixture hangs. A recommended height is at least seven feet from the floor to allow for door clearances and tall people.


